


Setting up a Wifi Digital Microscope can seem like a daunting task, especially if you're new to the world of digital microscopy. As a supplier of high - quality Wifi Digital Microscope, I'm here to guide you through the process step by step.
Understanding the Basics of a Wifi Digital Microscope
Before we start the setup process, it's essential to understand what a Wifi Digital Microscope is. Unlike traditional microscopes, a Wifi Digital Microscope allows you to connect to your device wirelessly, such as a smartphone, tablet, or computer. This feature enables you to view, capture, and share the magnified images and videos easily.
Our Wifi Digital Microscope comes with advanced features like high - resolution imaging, adjustable magnification levels, and long - battery life. Whether you're a student, a researcher, or a hobbyist, our microscope can meet your diverse needs.
Pre - Setup Preparations
1. Gather the Necessary Equipment
First, make sure you have all the components that come with the microscope. This usually includes the microscope itself, a power adapter, a USB cable (in some cases), and the user manual. Additionally, you'll need a device (smartphone, tablet, or computer) with a compatible operating system and a stable internet connection.
2. Read the User Manual
The user manual is your best friend when setting up any new device. It contains detailed instructions specific to your microscope model. Take the time to read through it carefully, paying attention to safety precautions, technical specifications, and setup procedures.
3. Charge the Microscope
If your microscope has a rechargeable battery, make sure it is fully charged before you start the setup. Connect the power adapter to the microscope and plug it into a power outlet. The charging time may vary depending on the model, so refer to the user manual for accurate information.
Step - by - Step Setup Process
1. Power On the Microscope
Once the microscope is charged, press the power button to turn it on. You may see an indicator light that shows the device is powered up. Some microscopes also have a display screen that will show the startup interface.
2. Connect to the Microscope's Wifi Network
On your device (smartphone, tablet, or computer), go to the Wifi settings. Look for the microscope's Wifi network. The network name (SSID) is usually printed on the microscope or mentioned in the user manual. Select the network and enter the password if required. The password is also provided in the user manual.
3. Install the Companion App (if applicable)
Many Wifi Digital Microscopes come with a dedicated companion app that enhances the functionality of the device. You can download the app from the official app store (such as the Apple App Store or Google Play Store) on your device. Search for the app using the name provided in the user manual.
After downloading and installing the app, open it. The app will guide you through the process of connecting to the microscope. Follow the on - screen instructions carefully. In most cases, the app will automatically detect the microscope once you're connected to its Wifi network.
4. Adjust the Microscope Settings
Once you're connected to the microscope through the app or your device's browser, you can start adjusting the settings. You can change the magnification level, focus the lens, adjust the brightness, and contrast of the image. These settings can usually be adjusted using the controls on the microscope itself or through the app interface.
For example, if you want to increase the magnification, look for the magnification adjustment button on the microscope or in the app. Slowly turn the knob or click the button to increase or decrease the magnification until you get the desired level.
5. Test the Microscope
After adjusting the settings, place a sample under the microscope. You can use a prepared slide or a small object like a leaf or a piece of fabric. Look at the image on your device's screen. If the image is blurry, use the focus adjustment feature to make it clear. You can also capture images or record videos using the app's built - in functions.
Troubleshooting Common Issues
1. Connection Problems
If you're having trouble connecting to the microscope's Wifi network, first make sure the microscope is turned on and the Wifi is enabled. Check if the network name and password are correct. You can also try restarting both the microscope and your device. If the problem persists, refer to the troubleshooting section in the user manual or contact our customer support team.
2. Image Quality Issues
If the image is blurry, out of focus, or has a low resolution, check the focus adjustment. Make sure the lens is clean and free from dust or fingerprints. You can use a soft, lint - free cloth to clean the lens gently. Also, ensure that the sample is placed correctly under the microscope.
3. App - Related Issues
If the companion app is not working properly, try closing and reopening it. You can also try uninstalling and reinstalling the app. Make sure your device's operating system is up - to - date, as an outdated system may cause compatibility issues.

Advanced Features and Applications
1. Image and Video Editing
Our Wifi Digital Microscope allows you to capture high - quality images and videos. You can use the companion app to edit these media files. You can crop the image, adjust the color, add annotations, and share the files with others via email, social media, or cloud storage.
2. Measurement and Analysis
Some advanced models of our Wifi Digital Microscopes have measurement and analysis features. You can use these features to measure the size of the object under the microscope, count cells, or analyze the structure of the sample. Refer to the user manual to learn how to use these features effectively.
3. Integration with Other Software
In some cases, you may want to integrate the microscope with other software for more in - depth analysis. For example, you can export the images and videos to image editing software like Adobe Photoshop or data analysis software like Excel. This allows you to perform more complex tasks and present your findings in a professional manner.
Applications of Wifi Digital Microscopes
1. Education
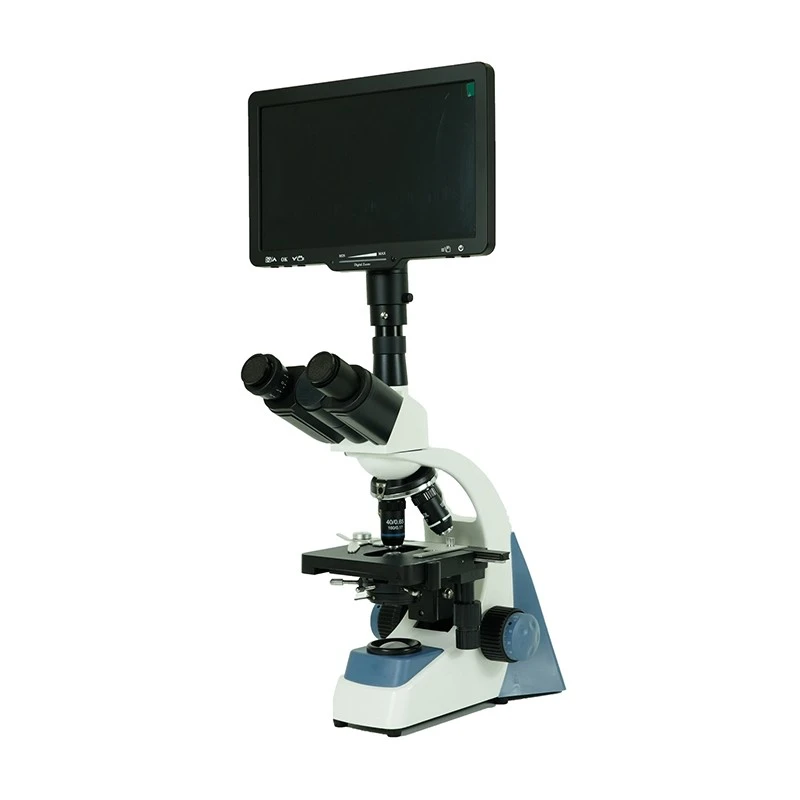
In educational institutions, Wifi Digital Microscopes are widely used for teaching biology, geology, and other science subjects. Teachers can easily share the magnified images with students, making the learning process more interactive and engaging. Our 7 Inch LCD Intelligent Digital Microscope is a great choice for classrooms due to its large display and high - resolution imaging.
2. Research
Researchers in various fields such as medicine, biology, and materials science can use our microscopes to conduct detailed studies. The ability to capture and analyze high - quality images and videos helps in making accurate observations and drawing meaningful conclusions. Our Digital Microscope for Lab is designed to meet the strict requirements of laboratory research.
3. Hobbyists
Hobbyists who are interested in topics like entomology, mineralogy, or coin collecting can also benefit from our Wifi Digital Microscopes. They can explore the microscopic world and share their findings with other enthusiasts online.
Contact Us for Procurement
If you're interested in purchasing our Wifi Digital Microscope, 7 Inch LCD Intelligent Digital Microscope, or Digital Microscope for Lab, we'd be more than happy to assist you. Our team of experts can provide you with detailed product information, pricing, and help you choose the right microscope for your needs. Please feel free to reach out to us for a procurement discussion.
References
- Manufacturer's user manual for the Wifi Digital Microscope
- Online resources on digital microscopy and its applications


