


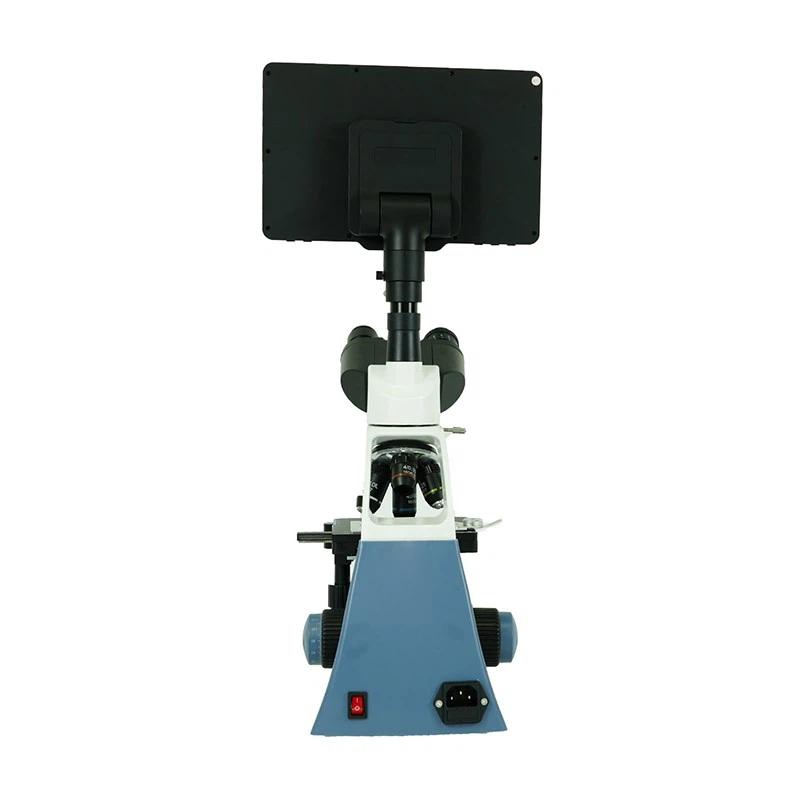

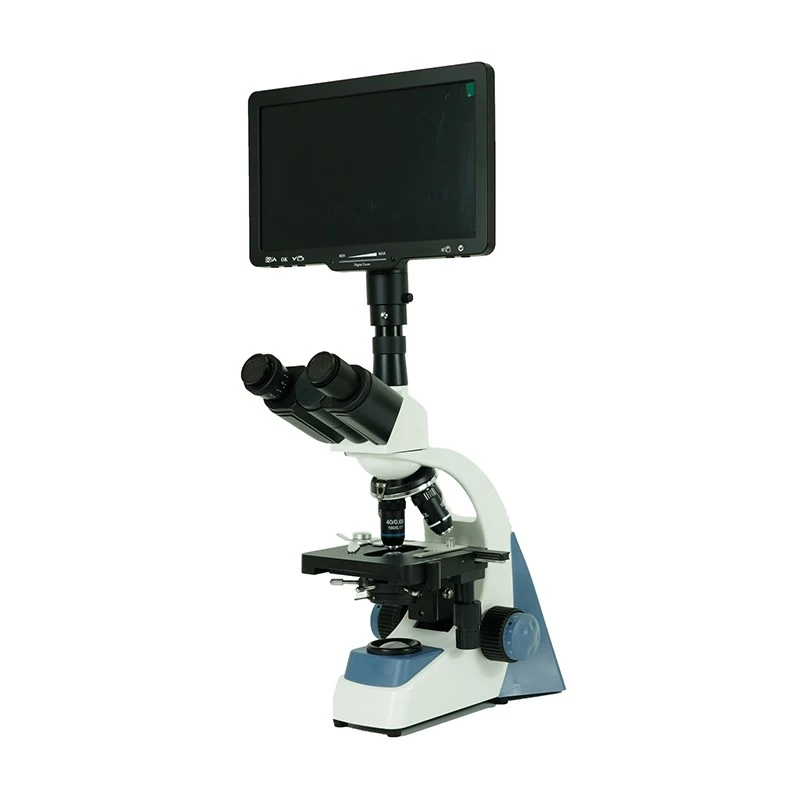


Specification of Standard Accessories
1. Eyepieces
|
Category |
Magnification |
Diameter of view-field(mm) |
Remark |
|
Wide field eyepiece |
WF10X |
ф18 |
2. Objectives
|
Category |
Magnification |
Numerical aperture |
Working distance |
Remark |
|
Achromatic objectives |
4X |
0.10 |
37.5 |
|
|
10X |
0.25 |
7.613 |
||
|
40X(s) |
0.65 |
0.632 |
||
|
100X(s.oil) |
1.25 |
0.198 |
Spring |
3. Total magnification
|
Objectives |
tube coefficient |
Total magnification |
|
|
Eyepiece 10X |
Objectives 16X |
||
|
4X |
1X |
40X |
64X |
|
10X |
100X |
160X |
|
|
40X |
400X |
640X |
|
|
100X |
1000X |
1600X |
|
4. Mechanical tube length: 160mm
5. ABBE condenser, NA=1.25
6. Filter diameter: 32mm
7. Coarse/fine focal range: 20mm
8. Stage size: X-Y: 125*115mm
Longitudinal movement range: 70mm
Horizontal movement range: 30mm
Operation Instruction
1. Unpacking and installation:
Microscope packaging is foam and carton; host packed in plastic bags, Objective are on the transparent plastic box, Eyepiece with a plastic bag, it should be carefully when install.
2. Adjustment of the microscope:
1) Insert the eyepiece into the eyepiece tube, and screw objectives into the nosepiece in sequence of different magnification from low to high. Then put the specimen on the stage and secure it the position with tablet and move it to the center of stage.
2) Turn on the power switch and adjust the brightness form dark to bright slowly. After working, you must adjust the brightness to a little dark before you turn it off.
3) Observe the specimen from lower magnification objective firstly and move the specimen to the center of view field, then rotate higher magnification objective. You may use the fine focusing knob to obtain the clear image.When100X (soil) objective is used; you should fill up with cedar wood oil (without bubble) between the front of objective and the specimen surface. After working, it should be wiped with a few xylems immediately.
4) In order to obtain bright and clear image, the illumination must be adjusted. When different objective is chosen, you should adjust the iris diaphragm of the condenser and different brightness of the light.
5) When the lamp needs to replace, you should shut off the power switch and replace it after the lamp is cool. Note: The contact must be firmed, and the filament center should be adjusted.
Maintenance
1. Open the package carefully to avoid the damage of the lenses or accessories
2. Operate correctly, and put the dust cover on the microscope after work.
3. Don't dismantle the instrument rashly besides the replaceable lest the correct position should be breached.
4. Keep the instrument in dry and cool place and away from the pollution and corrosion.
5. Please send the instrument to the special repair shop if it goes out of order.
6. When the objectives and eyepieces won't be used for a long time, please place them into a dry box, and put the dust cover onto the microscope
Screen:
LCD SIZE: 10.1inch
LCD RESOLUTION: 1024*600
Optical Format: 1/2.9
Senser resolution: 1920*1080
HDMI
Take pictures
Record video
USB CONNECTION
DIGITAL amplidication


